FEMS App my-PV Read Access
1. Introduction
Dear customer,
Thank you for choosing the "FEMS App my-PV Read Access". You are welcome to send us your suggestions so that we can further improve the quality of our products.
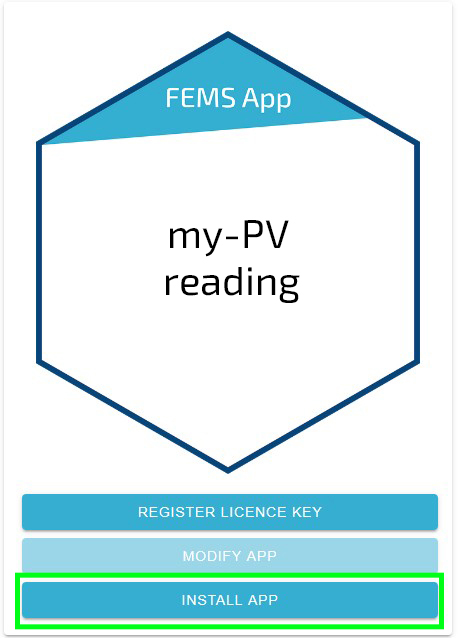
2. Installing the app
-
Use these instructions to integrate the my-PV products AC•Thor 9s or AC ELWA 2 into FEMS.
-
The exact procedure for installing an FEMS App can be found here.
-
Start in the FEMS Online Monitoring.

|
|
|
|
2.1. Enter the my-PV AC•Thor-9s-IP
The IP address of the my-PV AC•Thor 9s or AC ELWA 2 must be entered during installation.

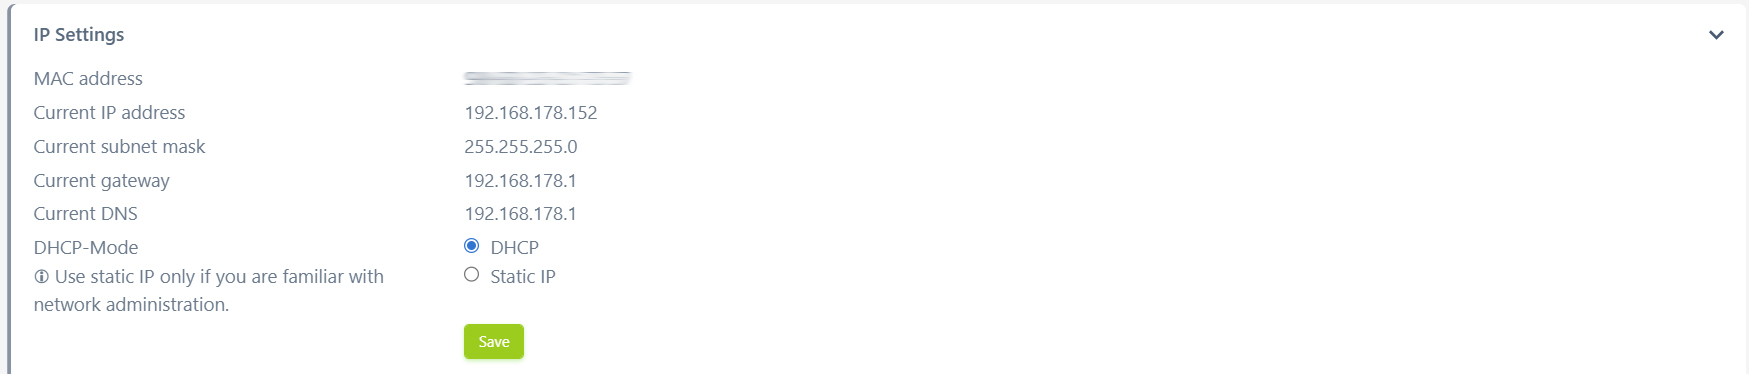
| The IP can be found in the my-PV-IP settings (see below) or the settings of your router. |
2.1.1. IP from the my-PV settings
|
|
|
|
|
|
|
|
|
|
3. my-PV settings
|
|
|
|
|
|

-
Select Fenecon FEMS Manual as Control type.
-
Enter the DHCP-assigned IP address of the FEMS as the IP address of the controller.
|
The IP address of the FEMS can be found in the network configuration in Online Monitoring under Settings or your router settings. |
|
The IP address of the FEMS should be set in the router to Always assign the same IPv4 address to this network device. |
-
Set 1 for Device ID and 502 for Device port.
-
Click on Save.
The installation is now complete.