Configuration Manual — SMA PV Inverter
1. Introduction
These instructions are used to configure the following SMA PV inverters:
-
SMA SUNNY BOY 1.5 / 2.0 / 2.5
-
SMA SUNNY BOY 3.0 / 3.6 / 4.0 / 5.0 / 6.0
-
SMA SUNNY TRIPOWER 3.0 / 4.0 / 5.0 / 6.0
-
SMA SUNNY TRIPOWER 8.0 / 10.0
-
SMA SUNNY TRIPOWER 15000TL/20000TL/25000TL
-
SMA SUNNY HIGHPOWER PEAK3
-
SMA SUNNY TRIPOWER CORE1
| The latest firmware should always be installed |
2. Configuration
| Before configuring the PV inverter, make sure that it has been installed properly. Use the manufacturer’s installation instructions for this. |
To integrate into the FEMS, please configure the device via the web interface. You can access this by calling up the IP address of the inverter in the browser. We recommend setting the assignment of the IP address to "Automatic" when commissioning the device.
| To be able to access the web interface, your PC/notebook/smartphone must be in the same network as the inverter. |
2.1. IP address
The connection between FEMS and the PV inverter is always established via the customer network. For this purpose, the IP address of the PV inverter is stored statically in FEMS. It is therefore necessary that the IP address of the PV inverter never changes.
-
Variant 1: Configure the SMA PV inverter according to the instructions so that it is assigned a static IP address.
-
Variante 2: Konfigurieren Sie den Wechselrichter gemäß Anleitung so, dass diesem eine dynamische/automatische IP-Adresse zugewiesen wird.Konfigurieren Sie zusätzlich den DHCP-Server im Kundennetzwerk (z. B. AVM FritzBox ), sodass dem Wechselrichter immer die gleiche IP-Adresse zugewiesen wird.
2.2. Ping test
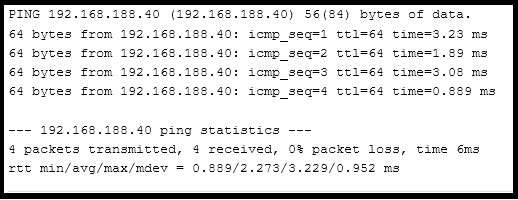
To test the correct configuration of the IP address, we recommend pinging the inverter in the local customer network.
In the example below, the IP address 192.168.188.40 was set for the inverter in the configuration.
If the inverter cannot be reached via ping, check the settings under IP address.