MENNEKES Charge Point
1. Introduction
2026.6.1
This guide explains how to integrate and configure FEMS App MENNEKES Charge Point into FEMS. Please read the guide carefully to get the most out of the app’s features.
The license key you purchased, AC Charging Station, can be redeemed for one of the supported charging stations.
Click here to learn how to register and redeem a newly purchased license key. You will also find general instructions on how to install an FEMS App.
|
If another supported charging station is currently installed, the license key can be transferred to the new charging station by uninstalling the previous app. This activates the license key, which can then be used to integrate a new charging station into FEMS. |
2. Installation
2.2. Hardware
For hardware installation, please refer to the official MENNEKES documentation .
| The hardware installation must be performed by a licensed electrician. |
2.3. Settings via the MENNEKES web interface
-
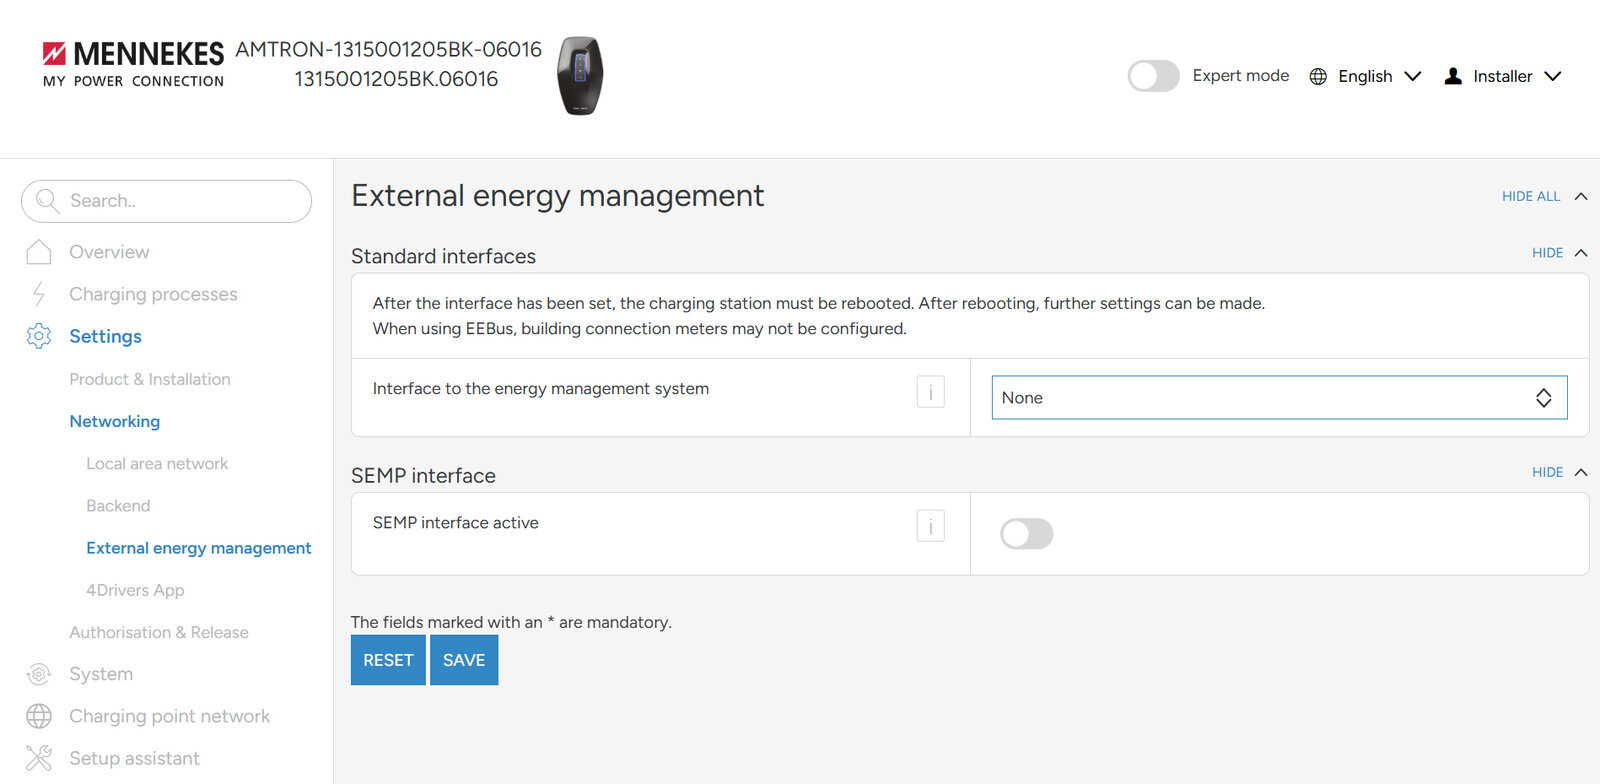
Log in to the MENNEKES charging station via the web interface and navigate to Settings > Networking > External Energy Management using the side menu:
-
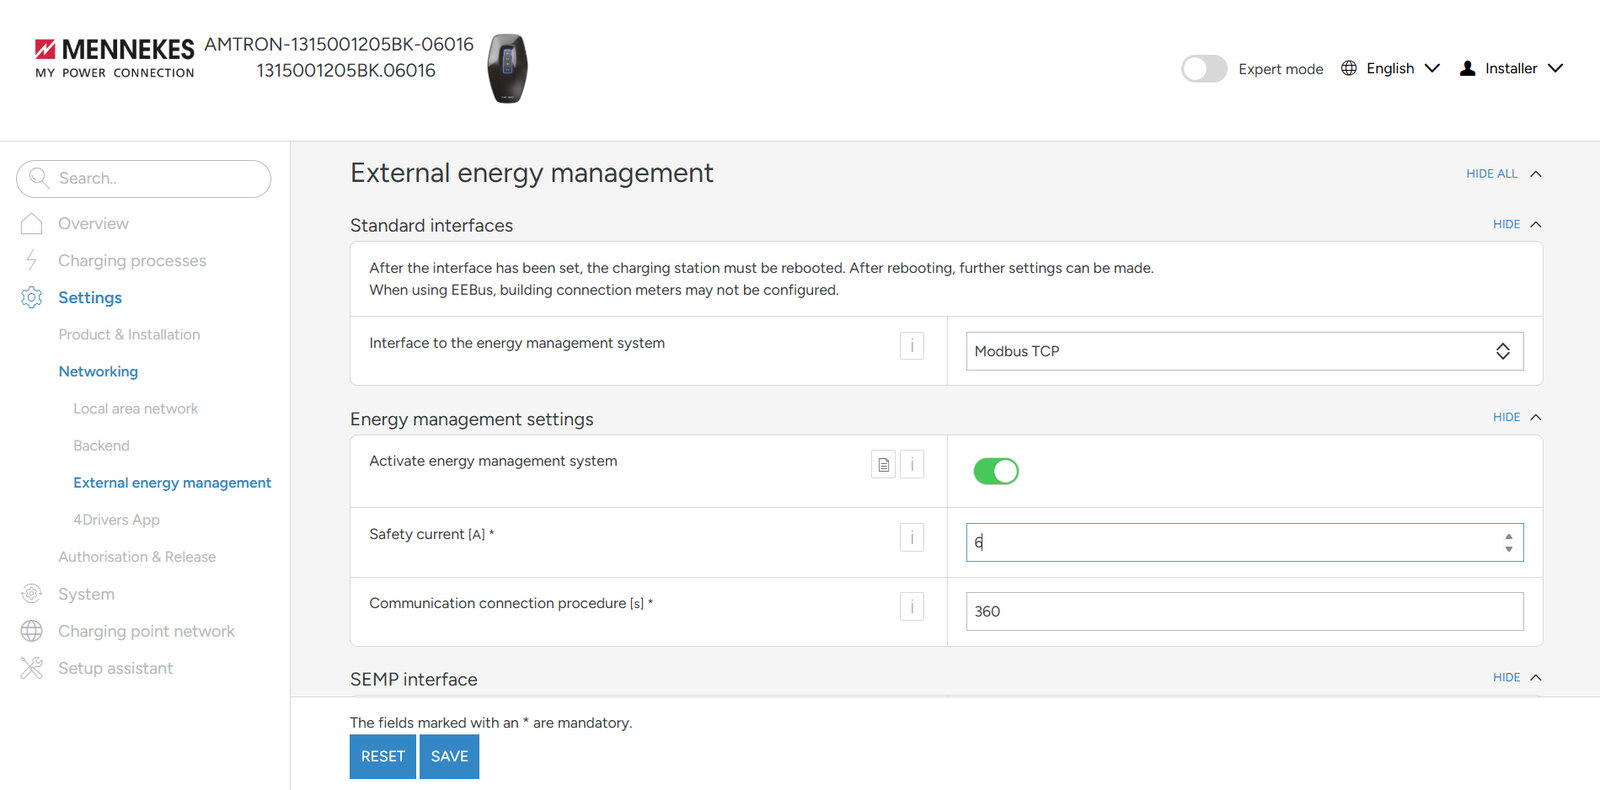
From the drop-down menu, select Modbus TCP as the interface to the energy management system.
-
Enable the energy management system by clicking the toggle .
-
The safety current should be set to 6 A. The timeout for the communication connection should be set to 360 seconds.
-
After you have made the settings, click SAVE.
-
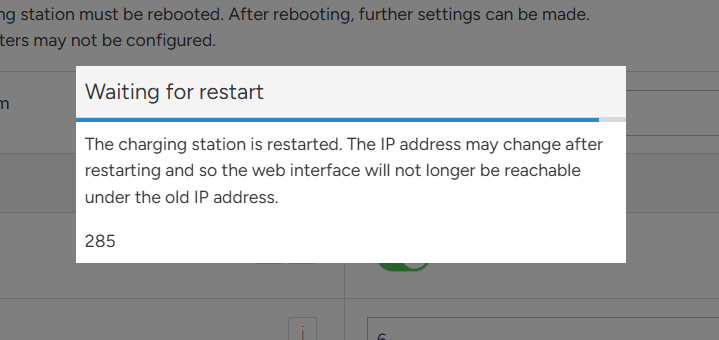
Restart the charging station.
2.4. Integrating the charging station into FEMS
-
Once you have configured the settings for the charging station, you can integrate the charging station into FEMS.
-
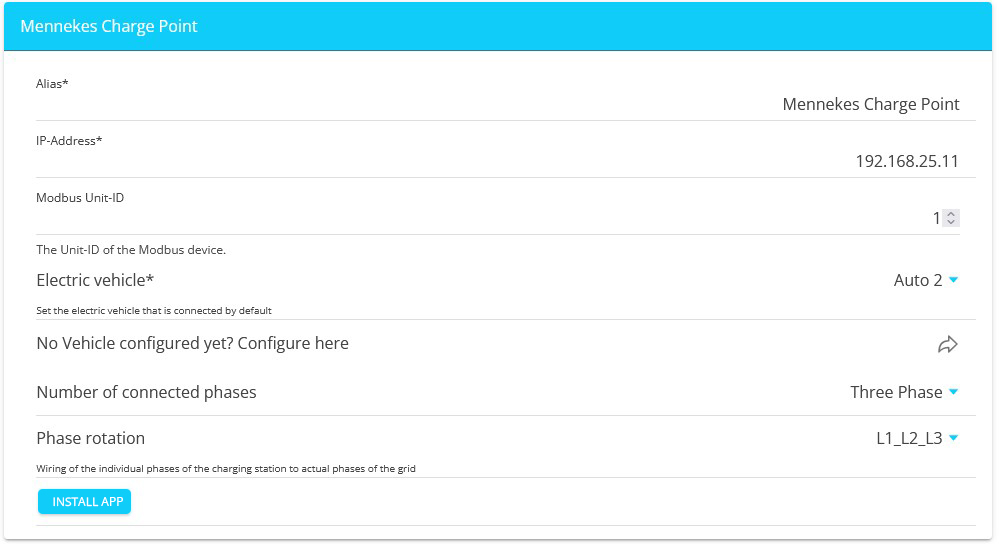
In FEMS, go to Settings to open the App Center and install FEMS App by following these instructions: General installation instructions for FEMS Apps.
|
Some of the input fields are pre-filled. Check the data and adjust it if necessary if it differs from the default values (e. g., IP address). Otherwise, the default values can be retained (e. g., port, Modbus unit ID).
|
-
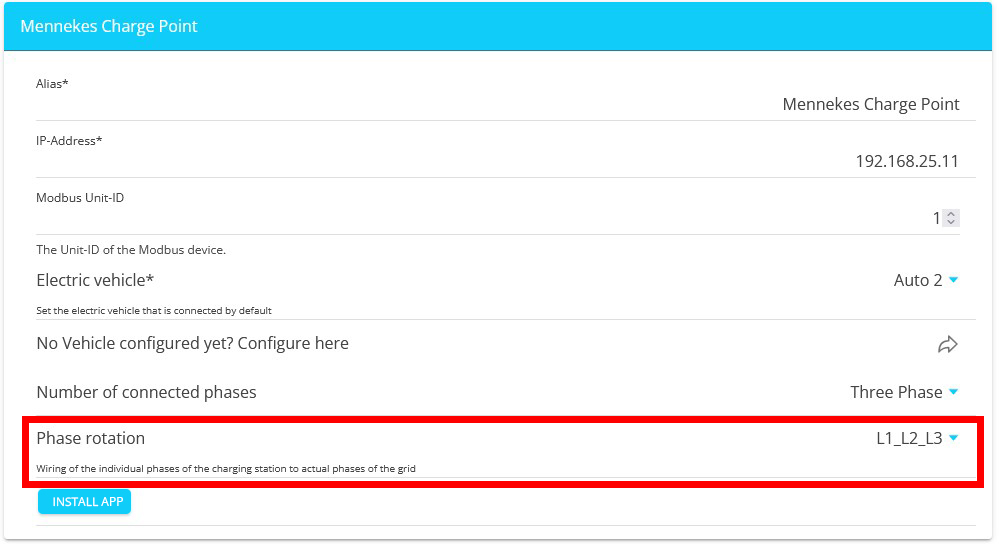
Select the phase rotation. This setting must match the phase rotation of the charging station.
-
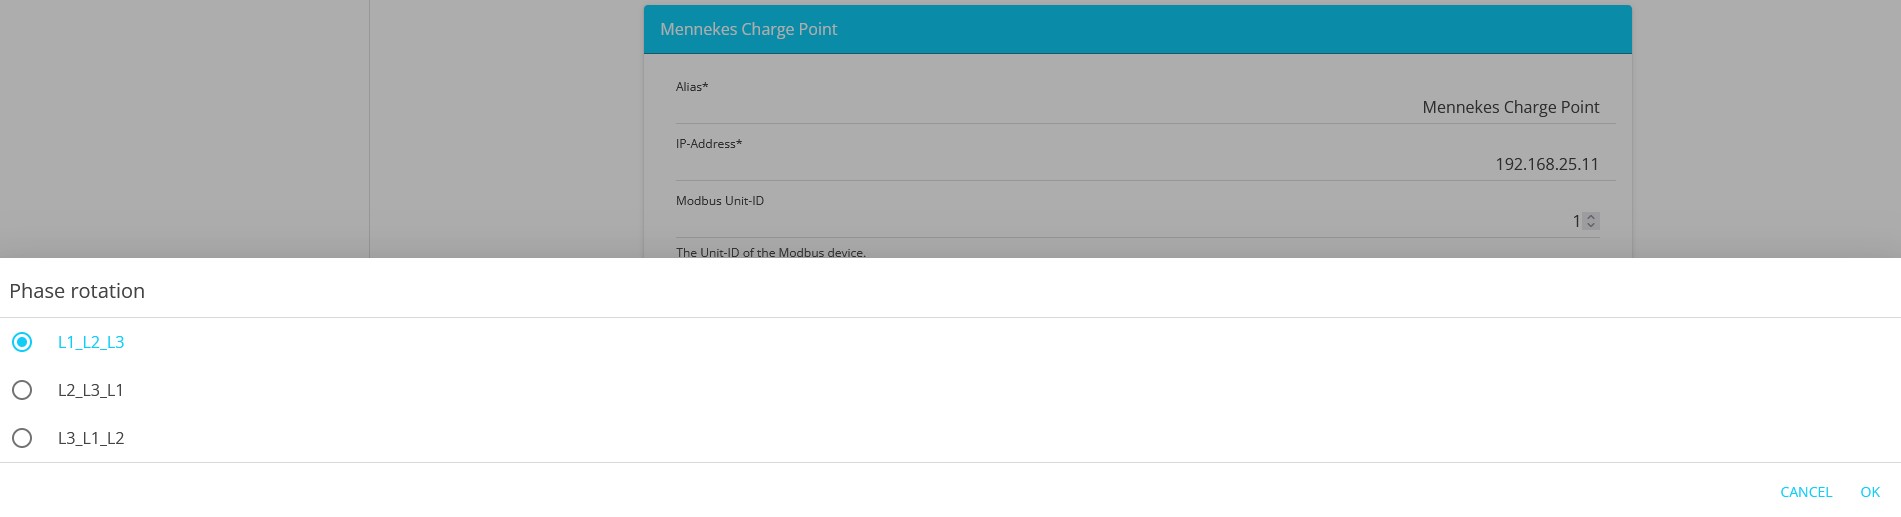
The phase connection L1_L2_L3 is selected as standard.
-
Check your entries and make sure they are correct. Otherwise, the app will not work properly.
-
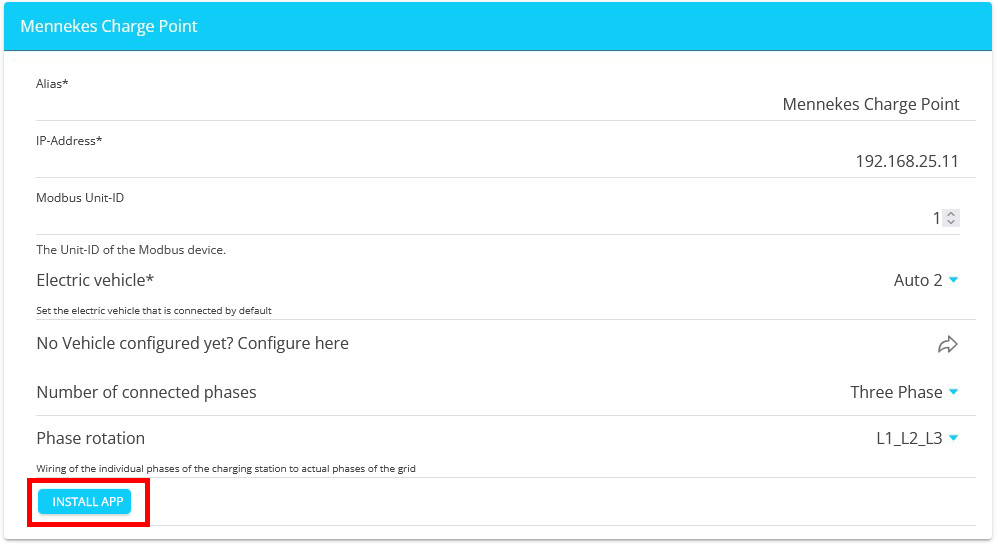
After you have configured the settings in FEMS, complete the installation by clicking INSTALL APP.
|
In addition to the information provided, you must enable the "Use new design" option in FEMS App MENNEKES Charge Point using . This will update the user interface of FEMS App MENNEKES Charge Point to the new design, which will significantly improve the app’s usability, especially on mobile devices. INFO: It is not possible to revert to the old design. If you use the app to access multiple charging stations, they will also be automatically updated to the new design. |
-
The charging station is now integrated into FEMS and can be controlled via the app.
-
In the App Center, via the EDIT APP, you can adjust the app’s configuration at a later time.
3. How to use the app
Tap or click to activate the chip for your charging station. This will open the main window for the charging station, where you can view various details about it.
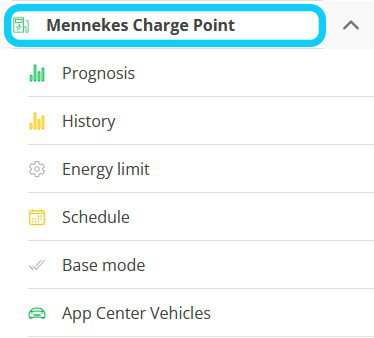
The main window displays different information and settings depending on the selected chip:
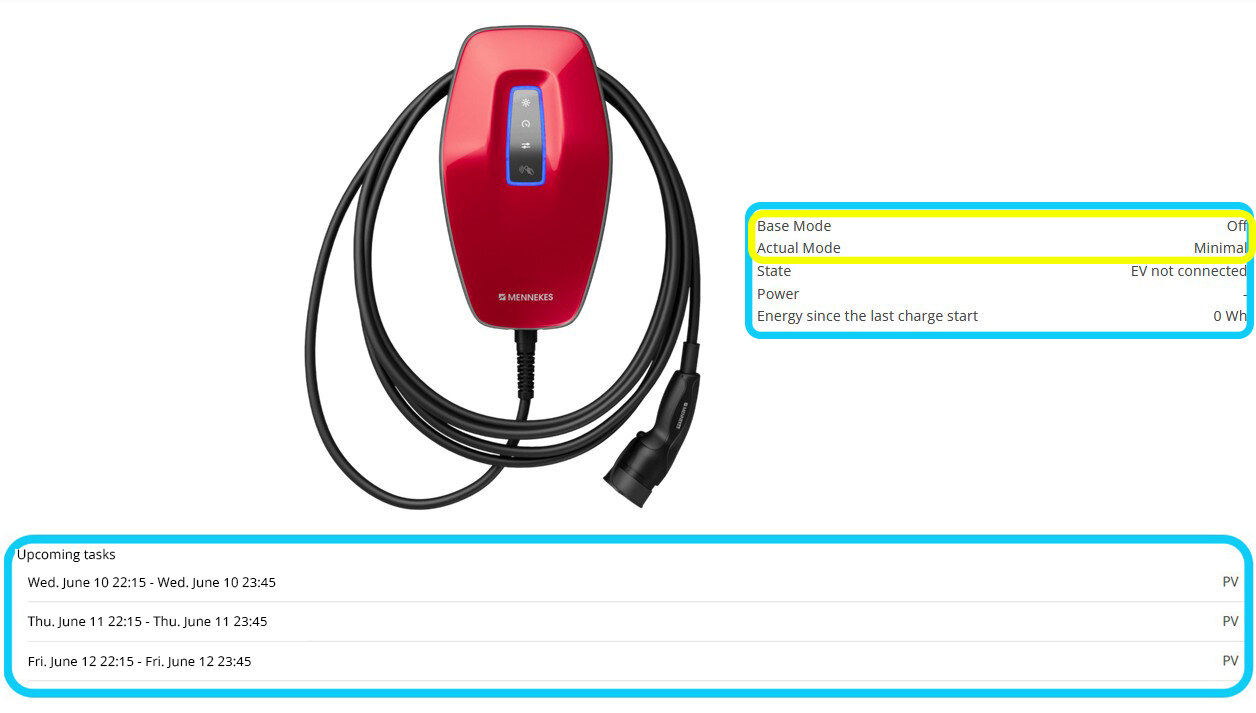
The highlighted area below displays custom tasks (schedule).
In addition, the modes currently active — Base Mode and Active Mode — are displayed to the right of the charging station.
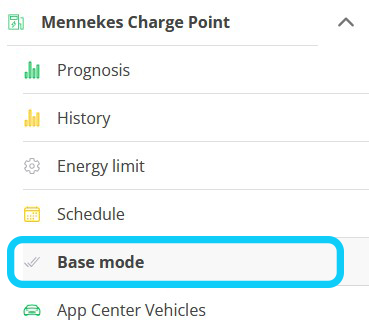
|
Settings for Base Mode can be configured via the chip Base Mode. |
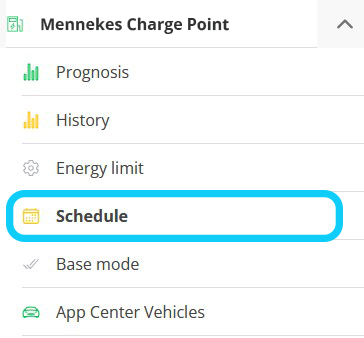
|
Settings for Active Mode can be configured via the chip Schedule. |
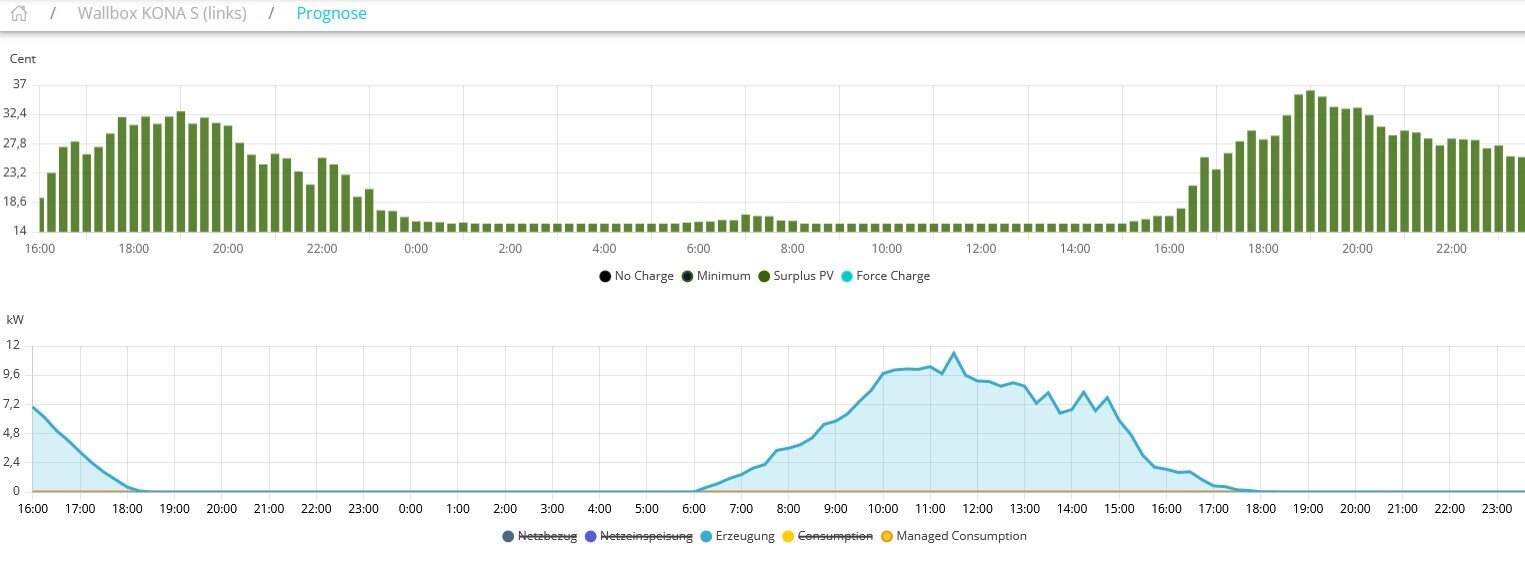
3.1. Forecast
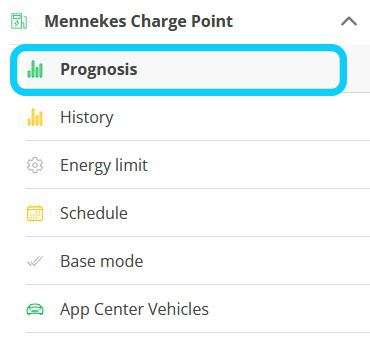
|
The main window of this chip displays the Forecast for your wallbox: |
|
|
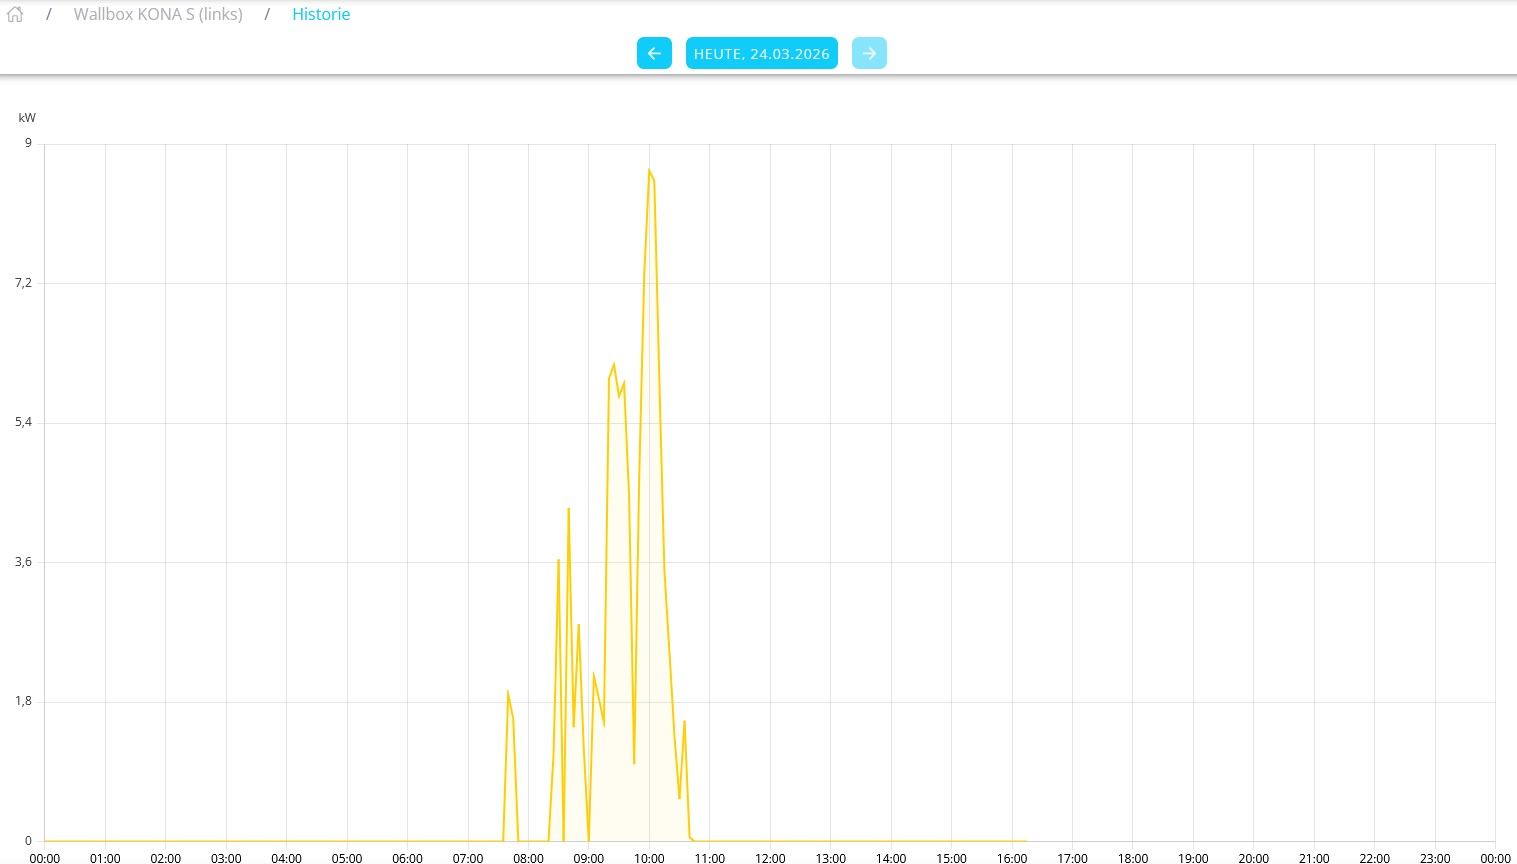
3.2. History
|
The main window of this chip displays the history for your wallbox: |
|
|
3.3. Energy limit
|
This chip allows you to set an Energy limit for charging your vehicle. |

|
There is a slider for this in the corresponding main window.
etc. |
Confirm the setting using the in the lower-right corner of the main window. |
3.4. Schedule (Active Mode)
Click or tap the Schedule tile to set an Active Mode.
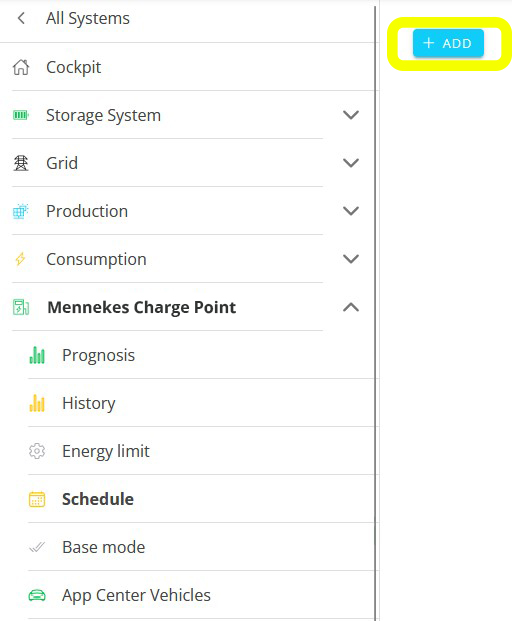
|
Click or tap ADD in the main window to create a new task. |
Now you can configure settings for your task:

Charging Mode
Select the desired charging mode for the task. The following options are available:
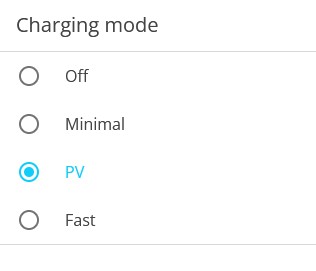
- No charging
-
Completely disables the charging station.
- Excess solar power with guaranteed charging
-
The PV Surplus with Guaranteed Charging mode guarantees a minimum charging status for the vehicle. If there is sufficient PV surplus, it is used. If there is no PV surplus, the vehicle is charged using grid withdrawal up to the minimum charging power.
- Excess solar power
-
In PV Surplus mode, EV charging is dynamically adjusted to the excess electrical energy.
- Fast charging
-
In Fast Charging mode, the vehicle charges as quickly as possible.
Repetition and Start/End Times
Next, set the Repetition Interval and specify a start and end time for the task.
Clicking + ACCEPT saves the task and displays it in the overview of your charging station in the main window. |
| If no tasks are scheduled, Active Mode equals Base Mode. |
Edit Task
This main window displays your custom tasks (schedule).
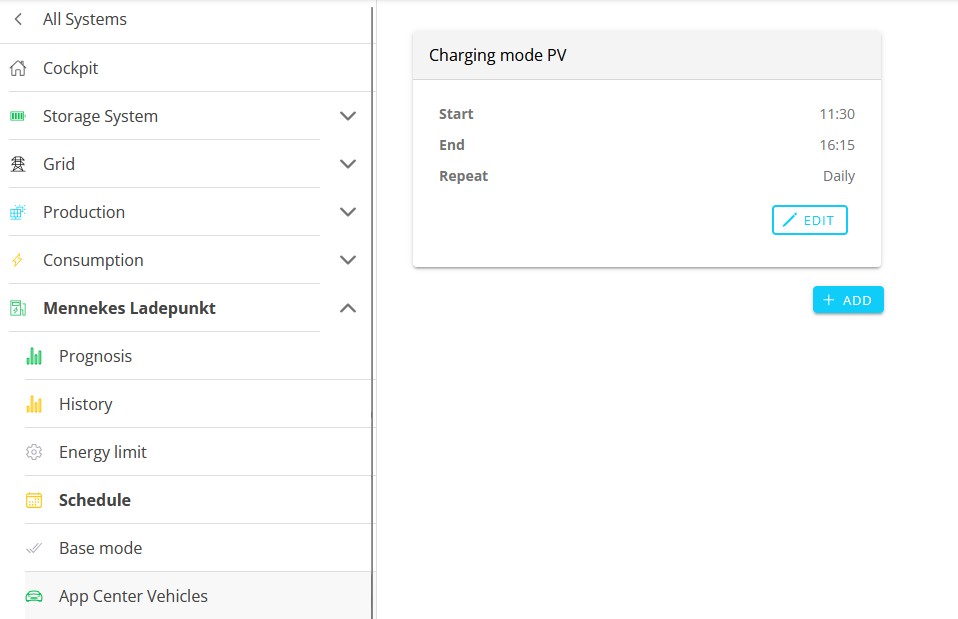
If you already have a task in the list, you can EDIT it to, e. g. adjust the time period or the charging mode during that time period.

Click ACCEPT to save your changes to the task. |
|
Click DELETE to remove the task. |
3.5. Base mode
Click on the Base Mode tab to open the following main window:
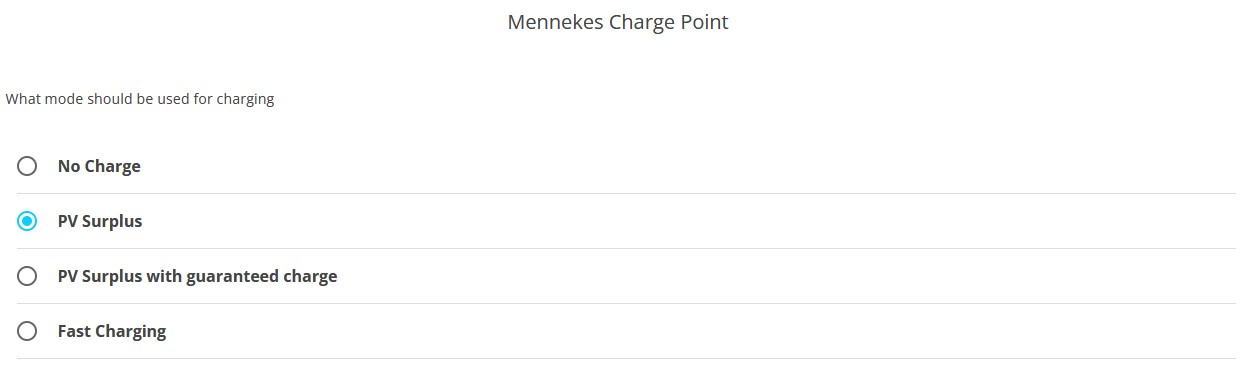
- No charging
-
Completely disables the charging station.
- Excess solar power
-
In PV Surplus mode, EV charging is dynamically adjusted to the excess electrical energy.
- Excess solar power with guaranteed charging
-
The PV Surplus with Guaranteed Charging mode guarantees a minimum charging status for the vehicle. If there is sufficient PV surplus, it is used. If there is no PV surplus, the vehicle is charged using grid withdrawal up to the minimum charging power.
- Fast charging
-
In Fast Charging mode, the vehicle charges as quickly as possible.
Confirm the setting using the in the lower-right corner of the main window. |
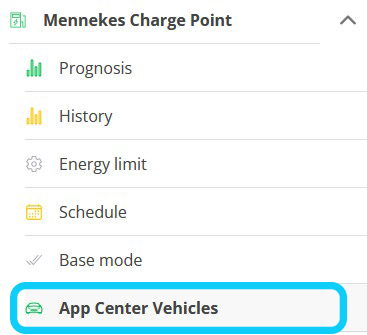
3.6. App Center Vehicles
|
You can use this tab to configure vehicle-specific settings. The main window displays the settings for the Generic Vehicle app. The Generic Vehicle app is automatically installed when you install FEMS App MENNEKES Charge Point. |
Generic Vehicle means:
-
The primary vehicle that is charged at this charging station by default.
-
We recommend that you provide the correct model name of the vehicle.
-
You can also define more than one vehicle.
The following settings are available for the connected Generic Vehicle:
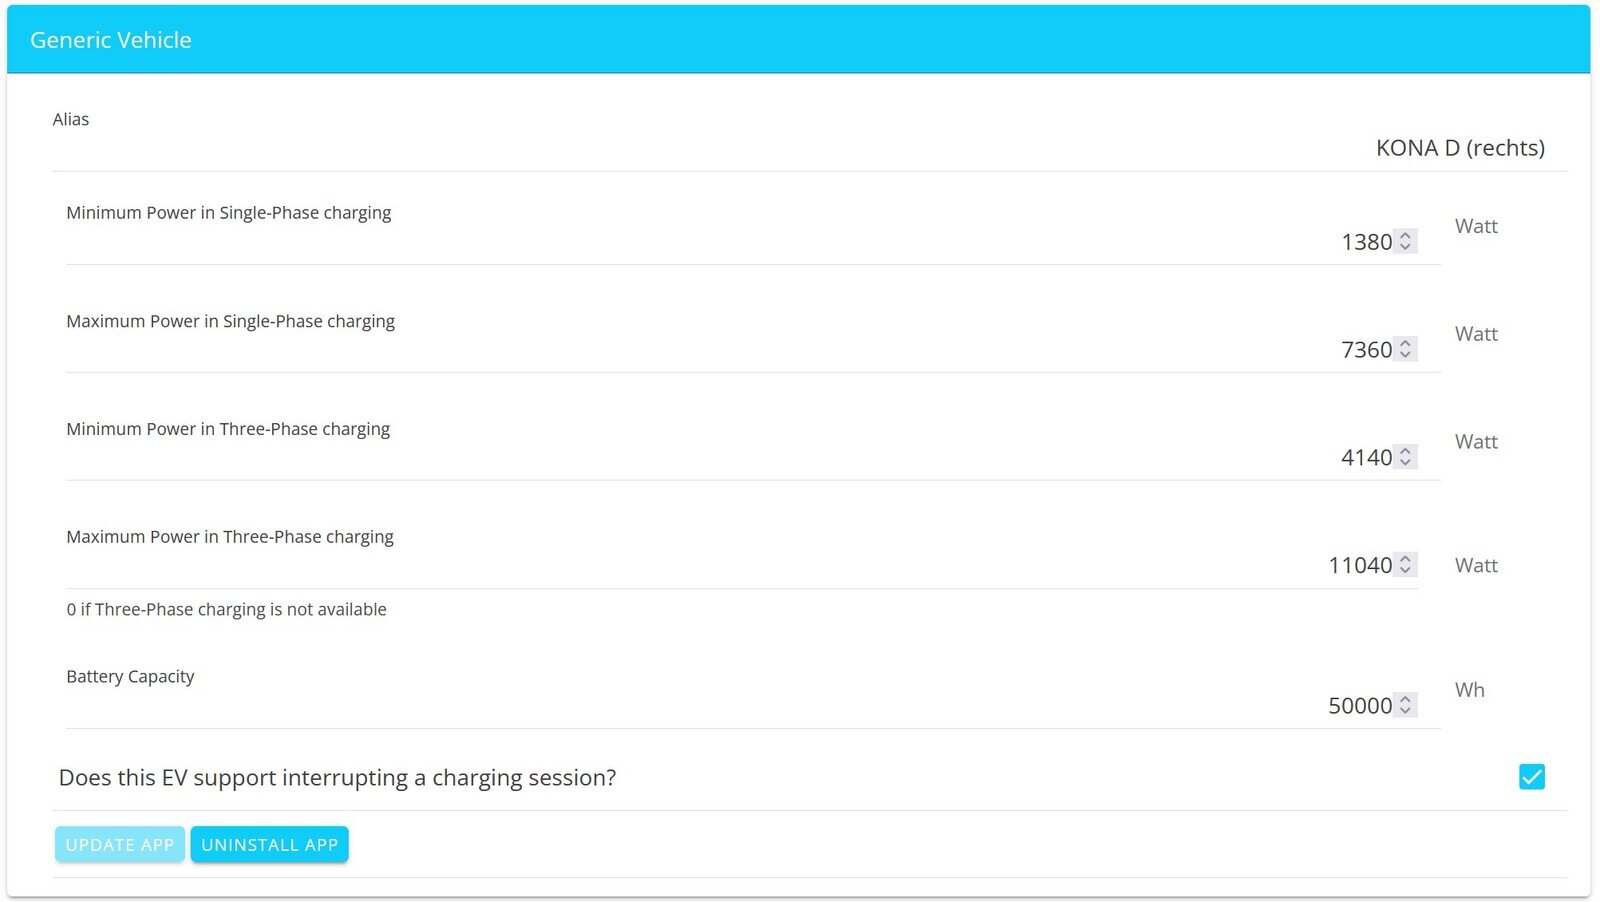
Once you have made the desired changes, save them by clicking the [UPDATE APP] button.
| These settings provide FEMS with more precise vehicle data, making the charging forecast for your vehicle more accurate. You can also enter your vehicle’s model name here so that it appears in the app. |